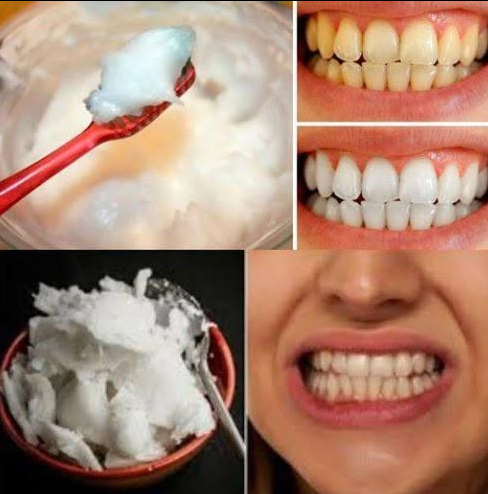
How to Naturally Whiten Your Teeth at Home in 3 Minutes 🦷✨
A bright, clean-looking smile can make you feel more confident almost instantly. That is why so many people search for quick and natural ways to whiten their teeth at home. Social media is full of recipes promising dramatically whiter teeth in just a few minutes, but the truth is that not every viral method is safe for your enamel.
The good news is that there are simple things you can do at home in about three minutes to make your smile feel fresher and help remove surface buildup. The key is understanding the difference between cleaning surface stains and actually bleaching the natural color of your teeth.
What Can Really Happen in Three Minutes?
If your teeth look dull because of food particles, plaque, or recent staining from coffee, tea, soda, or other drinks, a careful three-minute oral-care routine may make them appear cleaner and brighter.
However, natural tooth color cannot be completely changed in three minutes. Whitening products that actually bleach teeth generally need repeated applications over days or weeks.
So, instead of believing in a miracle ingredient, think of the three-minute routine as a quick smile refresh.
Step 1: Brush Gently for About Two Minutes
The simplest and safest place to start is brushing your teeth properly.
Use a soft-bristled toothbrush and fluoride toothpaste. Brush gently for approximately two minutes, making small circular motions and paying attention to the front, back, and chewing surfaces of your teeth.
Avoid scrubbing aggressively.
Many people mistakenly believe that brushing harder will make their teeth whiter. In reality, aggressive brushing can contribute to enamel wear and gum irritation. Once enamel is worn away, it does not grow back.
A gentle technique is much better than force.
Step 2: Pay Attention to Surface Stains
Some discoloration comes from substances that repeatedly come into contact with your teeth.
Coffee, black tea, red wine, tobacco, and certain foods can contribute to surface staining. Regular brushing helps remove some of this buildup before it becomes more noticeable.
If you regularly drink staining beverages, consider rinsing your mouth with water afterward. This does not instantly whiten your teeth, but it can help reduce the amount of staining material that remains on your teeth.
For acidic drinks, rinsing with water is especially useful because it helps clear acids from your mouth.
Step 3: Clean Between Your Teeth
A bright smile is not only about the visible front surfaces of your teeth.
Food and plaque can accumulate between teeth, making your mouth feel less clean and sometimes making the smile appear duller.
Floss or use another appropriate interdental cleaner to clean between your teeth. This is especially important because a toothbrush cannot effectively reach every surface between the teeth.
If your gums bleed when you first begin flossing, do not simply ignore the problem. Persistent bleeding, swelling, pain, or tenderness should be discussed with a dentist.
What About Baking Soda?
Baking soda is one of the most popular ingredients in homemade teeth-whitening recipes.
It can help remove some surface stains because it is mildly abrasive. Some toothpastes already contain baking soda for this reason.
But that does not mean you should aggressively scrub your teeth with dry baking soda every day.
Excessive abrasion can damage the enamel or irritate your gums. If you want to use a baking-soda product, choosing a professionally formulated toothpaste containing baking soda is generally a more controlled approach than experimenting with homemade mixtures.
Avoid Lemon and Vinegar Whitening Tricks
One of the biggest mistakes people make when looking for natural whitening remedies is using acidic ingredients such as lemon juice or vinegar.
These ingredients may make teeth temporarily appear different because acids can affect the tooth surface, but they can also contribute to enamel erosion.
Enamel is the hard outer layer protecting your teeth. Once it is significantly worn away, the underlying dentin can become more visible. Dentin is naturally more yellow than enamel, meaning aggressive “whitening” experiments can actually make teeth appear yellower over time.
Natural does not automatically mean safe.
Be Careful With Hydrogen Peroxide
Hydrogen peroxide is used in many professional and over-the-counter whitening products, but homemade mixtures can be risky when the concentration or application method is inappropriate.
Strong peroxide solutions can irritate the gums and soft tissues of the mouth.
If you want to use peroxide-based whitening, it is safer to choose a product specifically designed for oral use and follow its instructions rather than creating a concentrated homemade recipe.
Why Some Teeth Cannot Be Whitened at Home
Not all discoloration responds to whitening.
Yellowish surface stains may improve with professional cleaning or appropriate whitening products, but deeper discoloration can have different causes.
For example, tooth color can change because of aging, trauma, certain medications, developmental conditions, or changes inside the tooth.
Dental fillings, crowns, veneers, and other restorations also do not whiten in the same way as natural teeth.
If one tooth suddenly becomes dark or gray, especially after an injury, that is not something to treat with a homemade whitening recipe. A dental examination may be necessary.
A Better Three-Minute Smile Routine
If you want something simple to do before an event, photograph, or night out, try this:
Minute 1–2: Brush gently with fluoride toothpaste using a soft toothbrush.
Minute 2–3: Clean between your teeth with floss or an appropriate interdental cleaner, then rinse your mouth with water.
The result may not be a dramatically different shade, but your teeth can feel cleaner and your smile may look fresher.
For actual whitening, use an evidence-based whitening product according to its instructions or talk with a dental professional about professional whitening.
Keep Your Smile Bright After Whitening
Daily habits matter more than any three-minute trick.
Drink water regularly, brush twice a day, clean between your teeth daily, and limit frequent exposure to heavily staining beverages.
If you drink coffee or tea, rinsing with water afterward can help. Avoid smoking or tobacco products, which can cause significant staining and also harm oral health.
Regular dental cleanings are also important because hardened tartar cannot simply be brushed away at home.
The Bottom Line
There is no safe natural recipe that can transform naturally colored teeth into dramatically white teeth in exactly three minutes.
But three minutes can be enough for a quick oral-care routine that removes some surface buildup, freshens your mouth, and helps your smile look cleaner.
The safest approach is simple: brush gently with fluoride toothpaste, clean between your teeth, rinse with water, and avoid harsh DIY acids or abrasive scrubs.
If you want noticeably whiter teeth, look for proven whitening methods rather than viral recipes promising instant results. And if you have tooth pain, significant discoloration, bleeding gums, sensitivity, or a tooth that has suddenly changed color, see a dentist before attempting to whiten it.
A beautiful smile does not require a dangerous shortcut. Consistent, gentle oral care is still one of the best ways to keep your teeth looking healthy, clean, and bright. 🦷✨